I LOVE making collages and as I've 'grown up,' my collages have become more sophisticated. I started experimenting with three dimensional collages about 2 years ago when I made one of these for my sister's birthday. Through much trial and error and a few of my students willingly acting as guinea pigs (really they loved it....no really!), I finally figured out the best materials and, more importantly, how to make my collage structurally sound.
To start you'll need a few things:
+framed canvas OR corrugated cardboard OR cardboard from a cereal box (this works best for small collages)
+hot gun gun and glue sticks
+magazine clippings OR photos OR pieces of abstract art you create yourself OR scrapbook paper (the possibilities here are really endless)
+scissors
The first step is to create your base. This would be your canvas/corrugated cardboard/cereal box. You can create a collage on your base or paint your base. For this project, I chose to paint my base a solid color.
Next you want to work on your supports. These are the pieces that will hold the 'floating pieces' of your collage out and away from the base. Depending on the size of your collage, you will also want to make your supports aesthetically pleasing. You have many options here. You can paint your supports the same color as your base so they 'disappear.' Make them stand out by painting them a contrasting color. Continue your collage of magazine clippings right onto the supports. Again, use your creativity and let your imagination run wild!
For smaller collages, the inside of the supports will not be seen. So if you want to save time/effort/paint/glue/money, only focus on making the outside of your supports pretty.
To me this last step is the most fun. You can build your floating pieces as you go or all at once. Just remember that you will connect your floating pieces to each other, resulting in some overlap. Go wild here. Experiment with different shapes, textures, and colors.
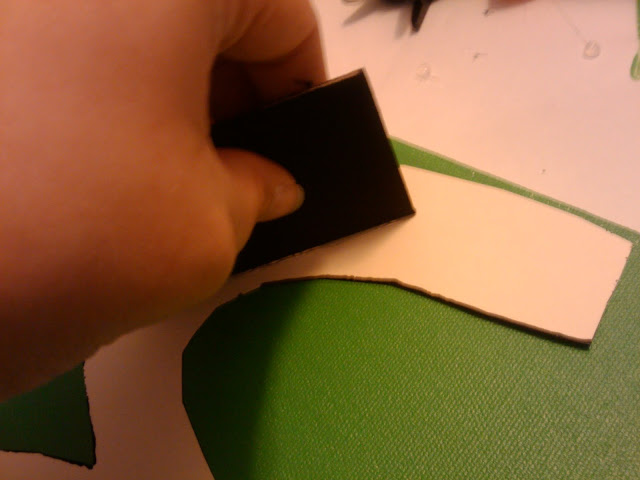
Now its time to start building. Let your hot glue gun warm up while you cut your supports. Your supports need to be equal in length for each level that you build. The shorter and wider your supports, the sturdier your collage will be. If you are concerned about your floating pieces being too heavy, you can make an X construction with your supports to increase the soundness of your construction.
Lay out all of your levels, on top of one another to make sure you know where they will sit as you start to build. Use a pencil to mark the place of each support to help you remember where each one goes and to prevent mistakes. Now start gluing like crazy! Glue your supports for your first level to the base at a 90 degree angle (perpendicular to the base). It should not take long at all for the glue to dry. Place your first layer of floaters on top of the supports to make sure they will be sufficiently supported. This is the time to go back and add extra supports if need be. If your floaters are well supported, secure them to the supports the same way you did the base. Then build, build, build! Repeat the above steps until finished. Remember, the higher you build up your collage, the further it will stick out from the wall once it is hanging, and less structurally sound it will be.
Click below for a full video tutorial!
Here are the results of my student's alphabet-scavenger-hunt collage:
cutting supports
pre-gluing a floater
building the base
gluing floaters
Ting doesn't like having his photo taken
drawing a base shape
layering the base and floaters


No comments:
Post a Comment